Optimizing your workflow as a designer includes thoughtfully building and maintaining your computer's fonts collection. This can be significantly enhanced by understanding where these specific font files reside and by actively using font management software for organization. This article serves as a complete guide to efficient Google Icon Font management.
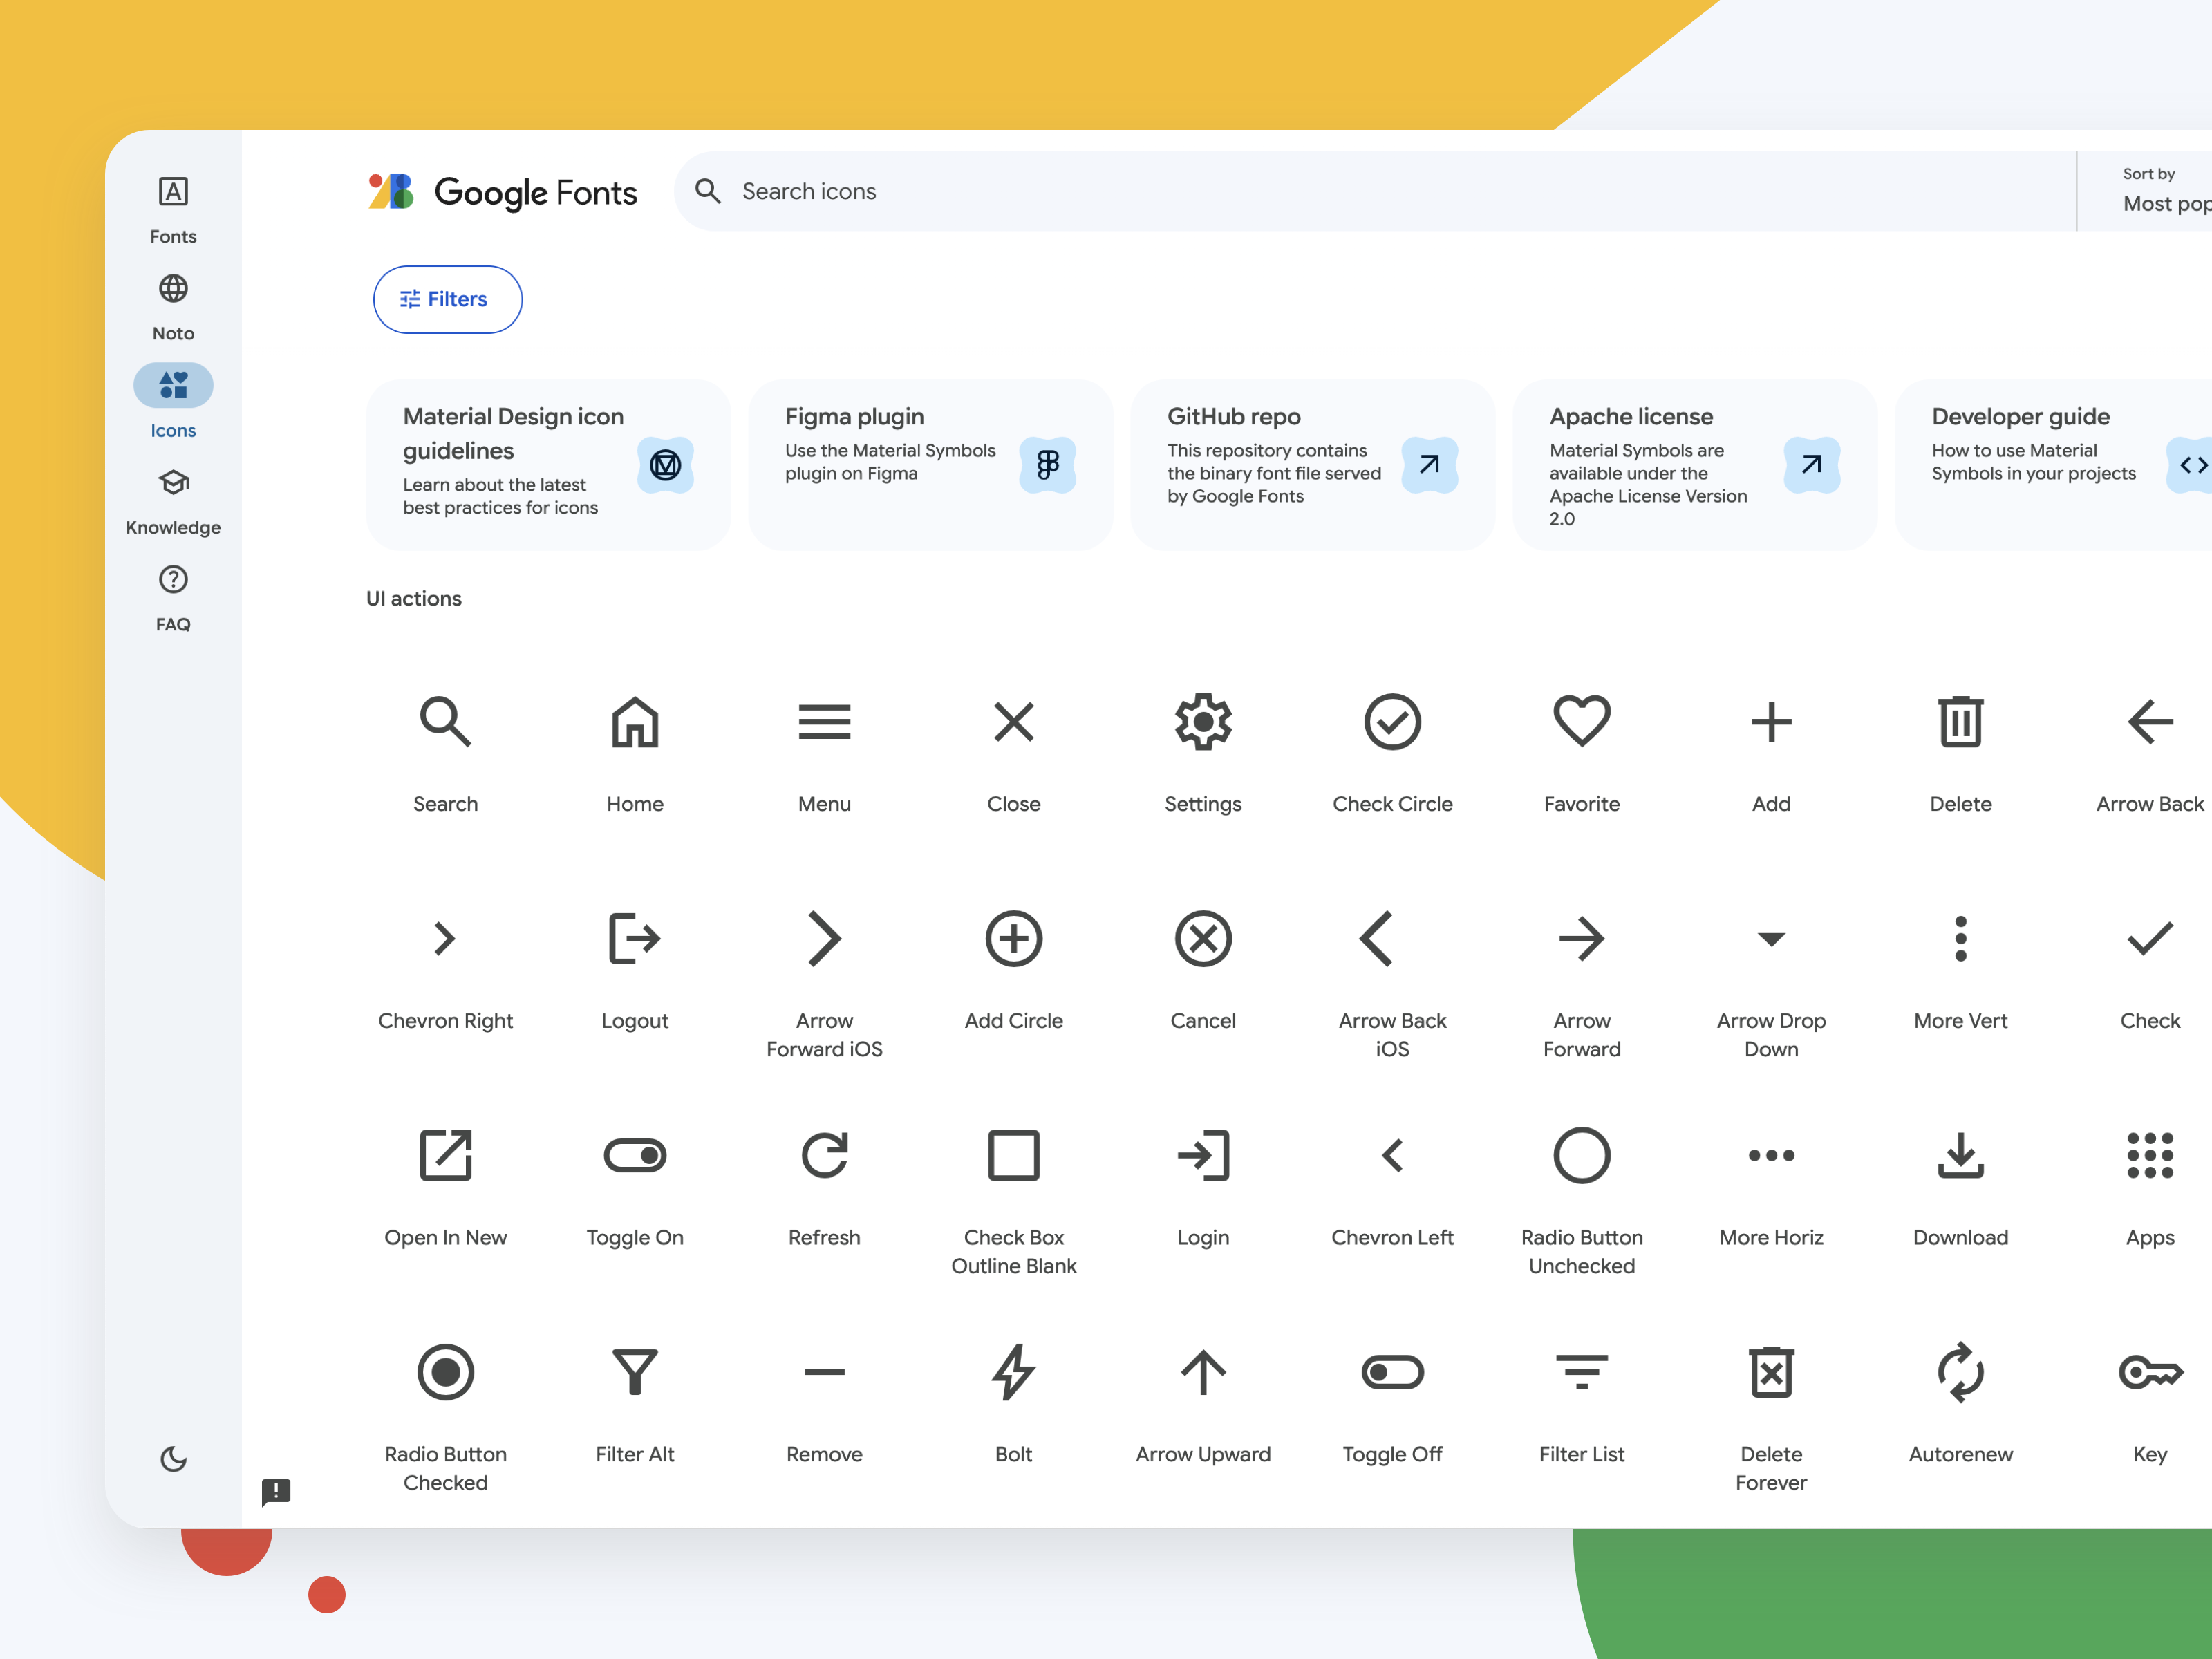
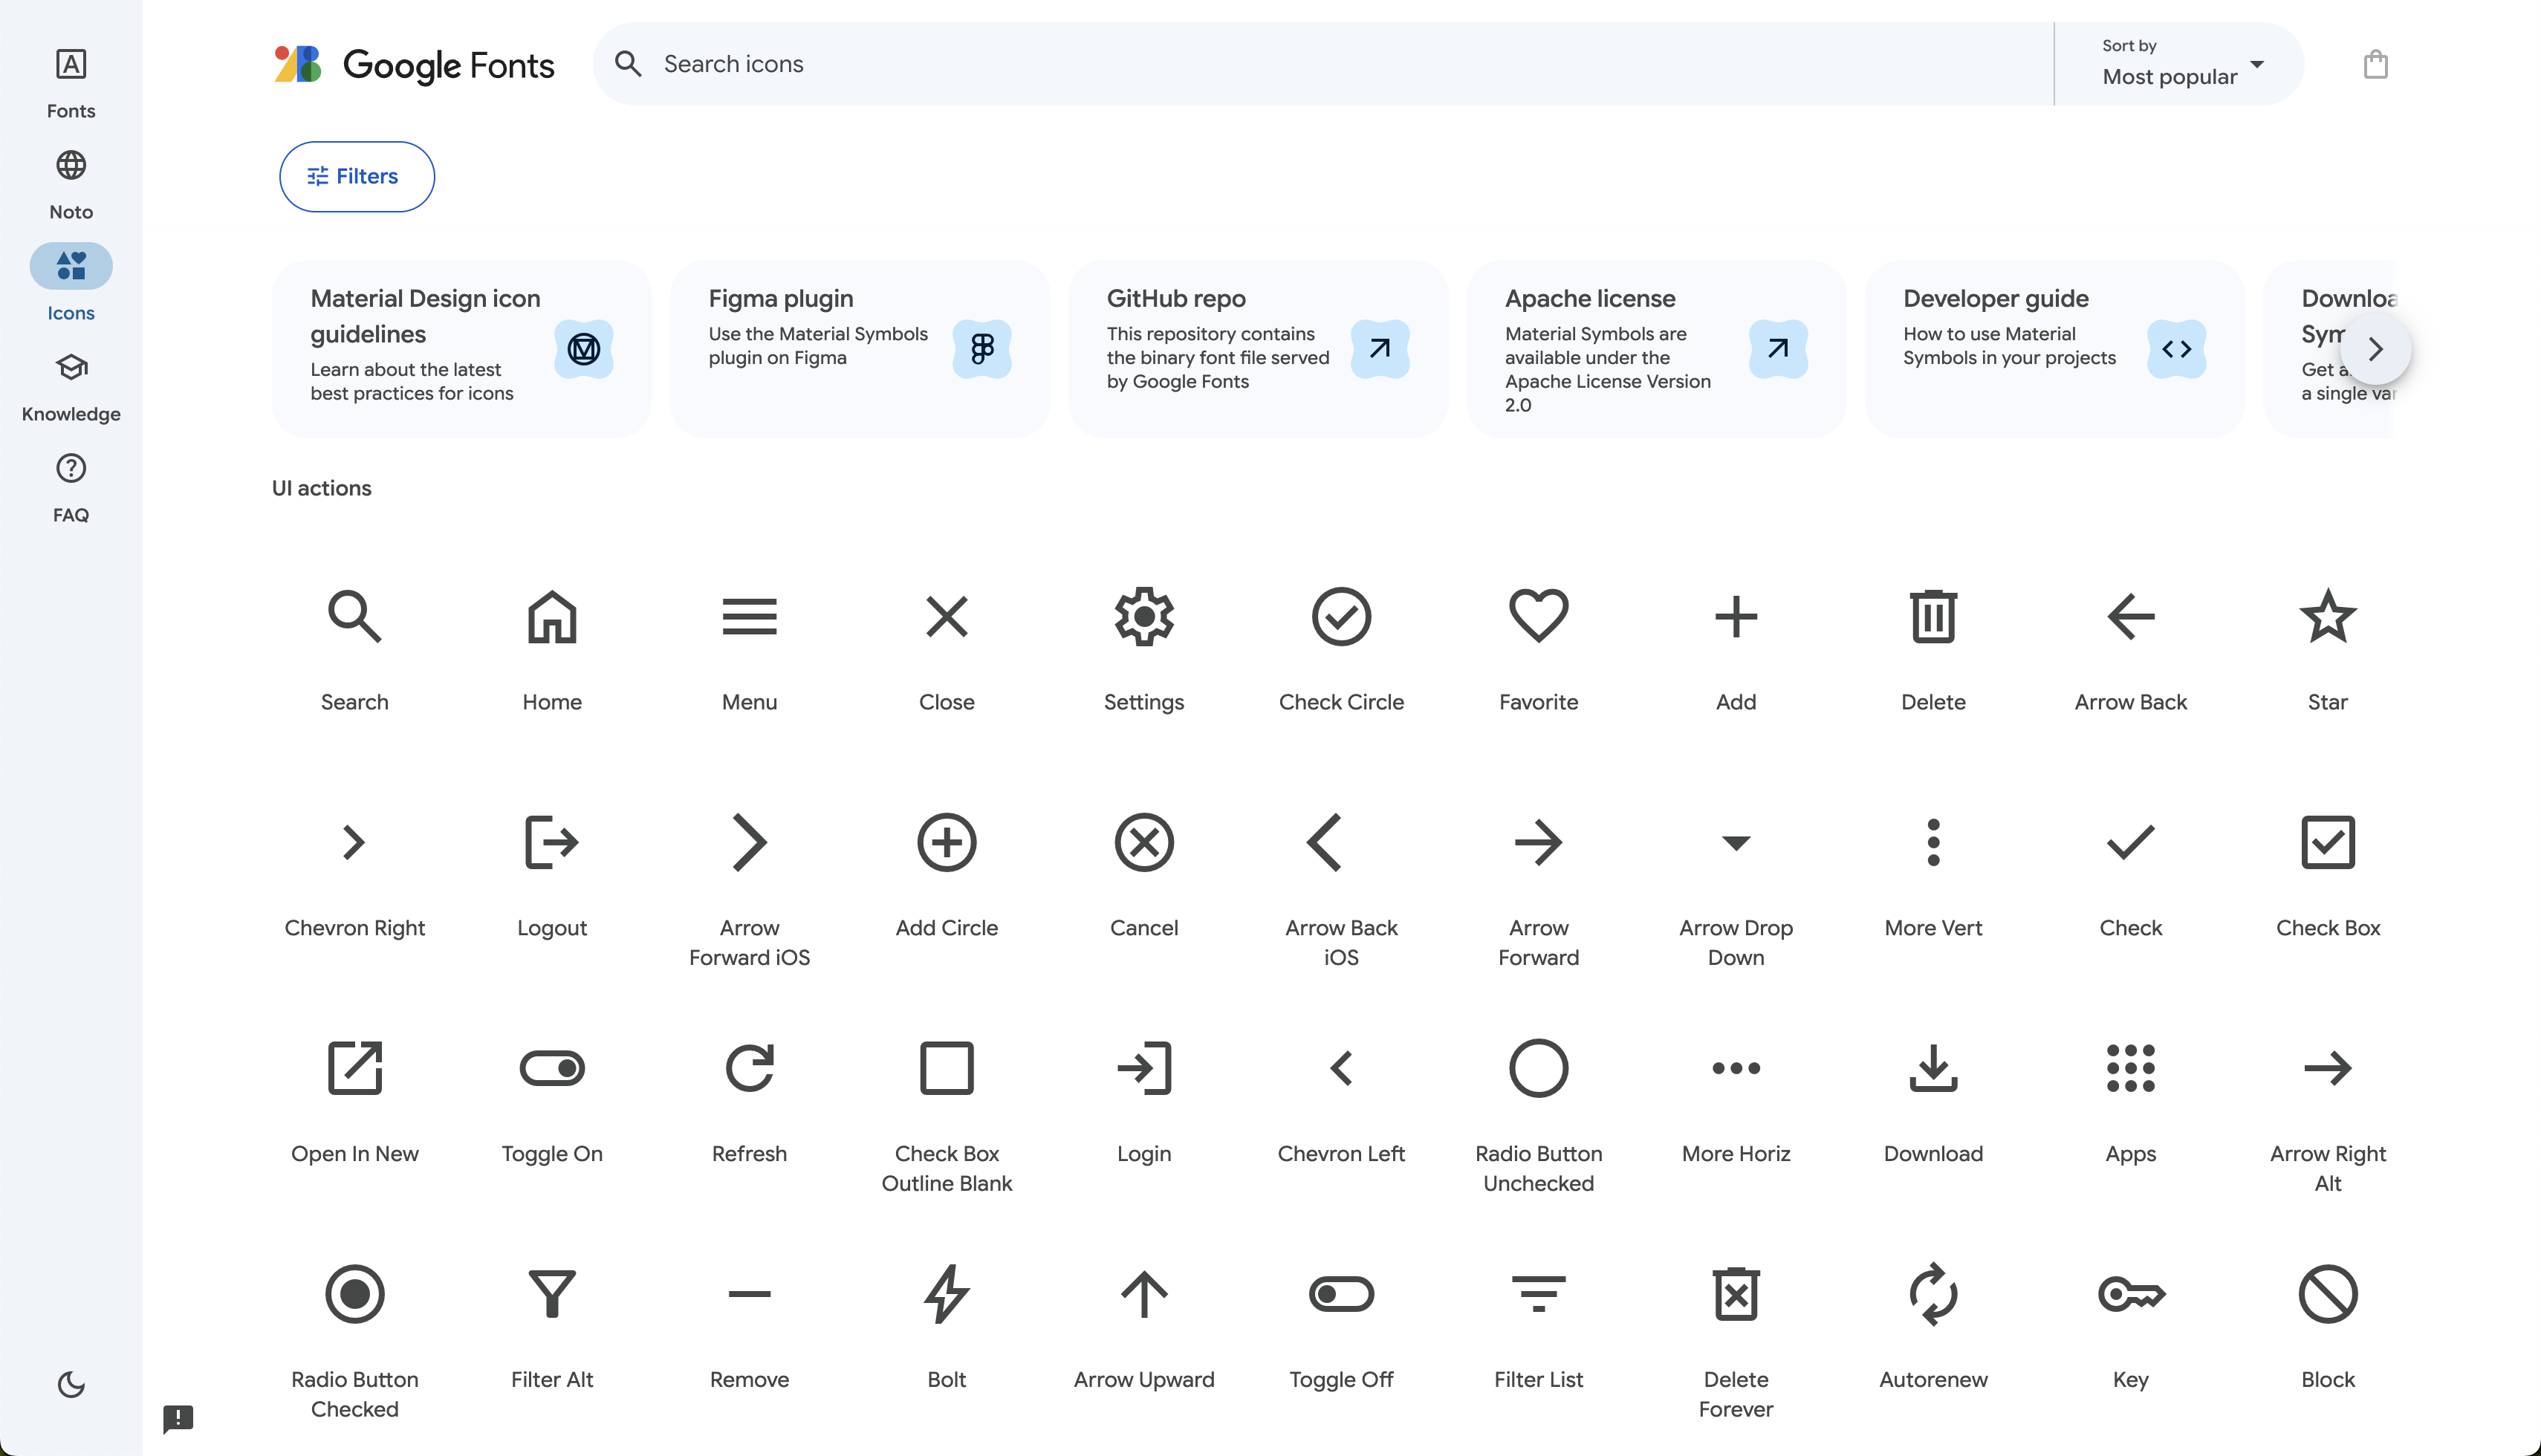
The Google Material Design Font page provides a substantial and highly adaptable collection of icons suitable for a wide range of media and systems. While optimized for website design, you can readily leverage Google Fonts for your local design work too.
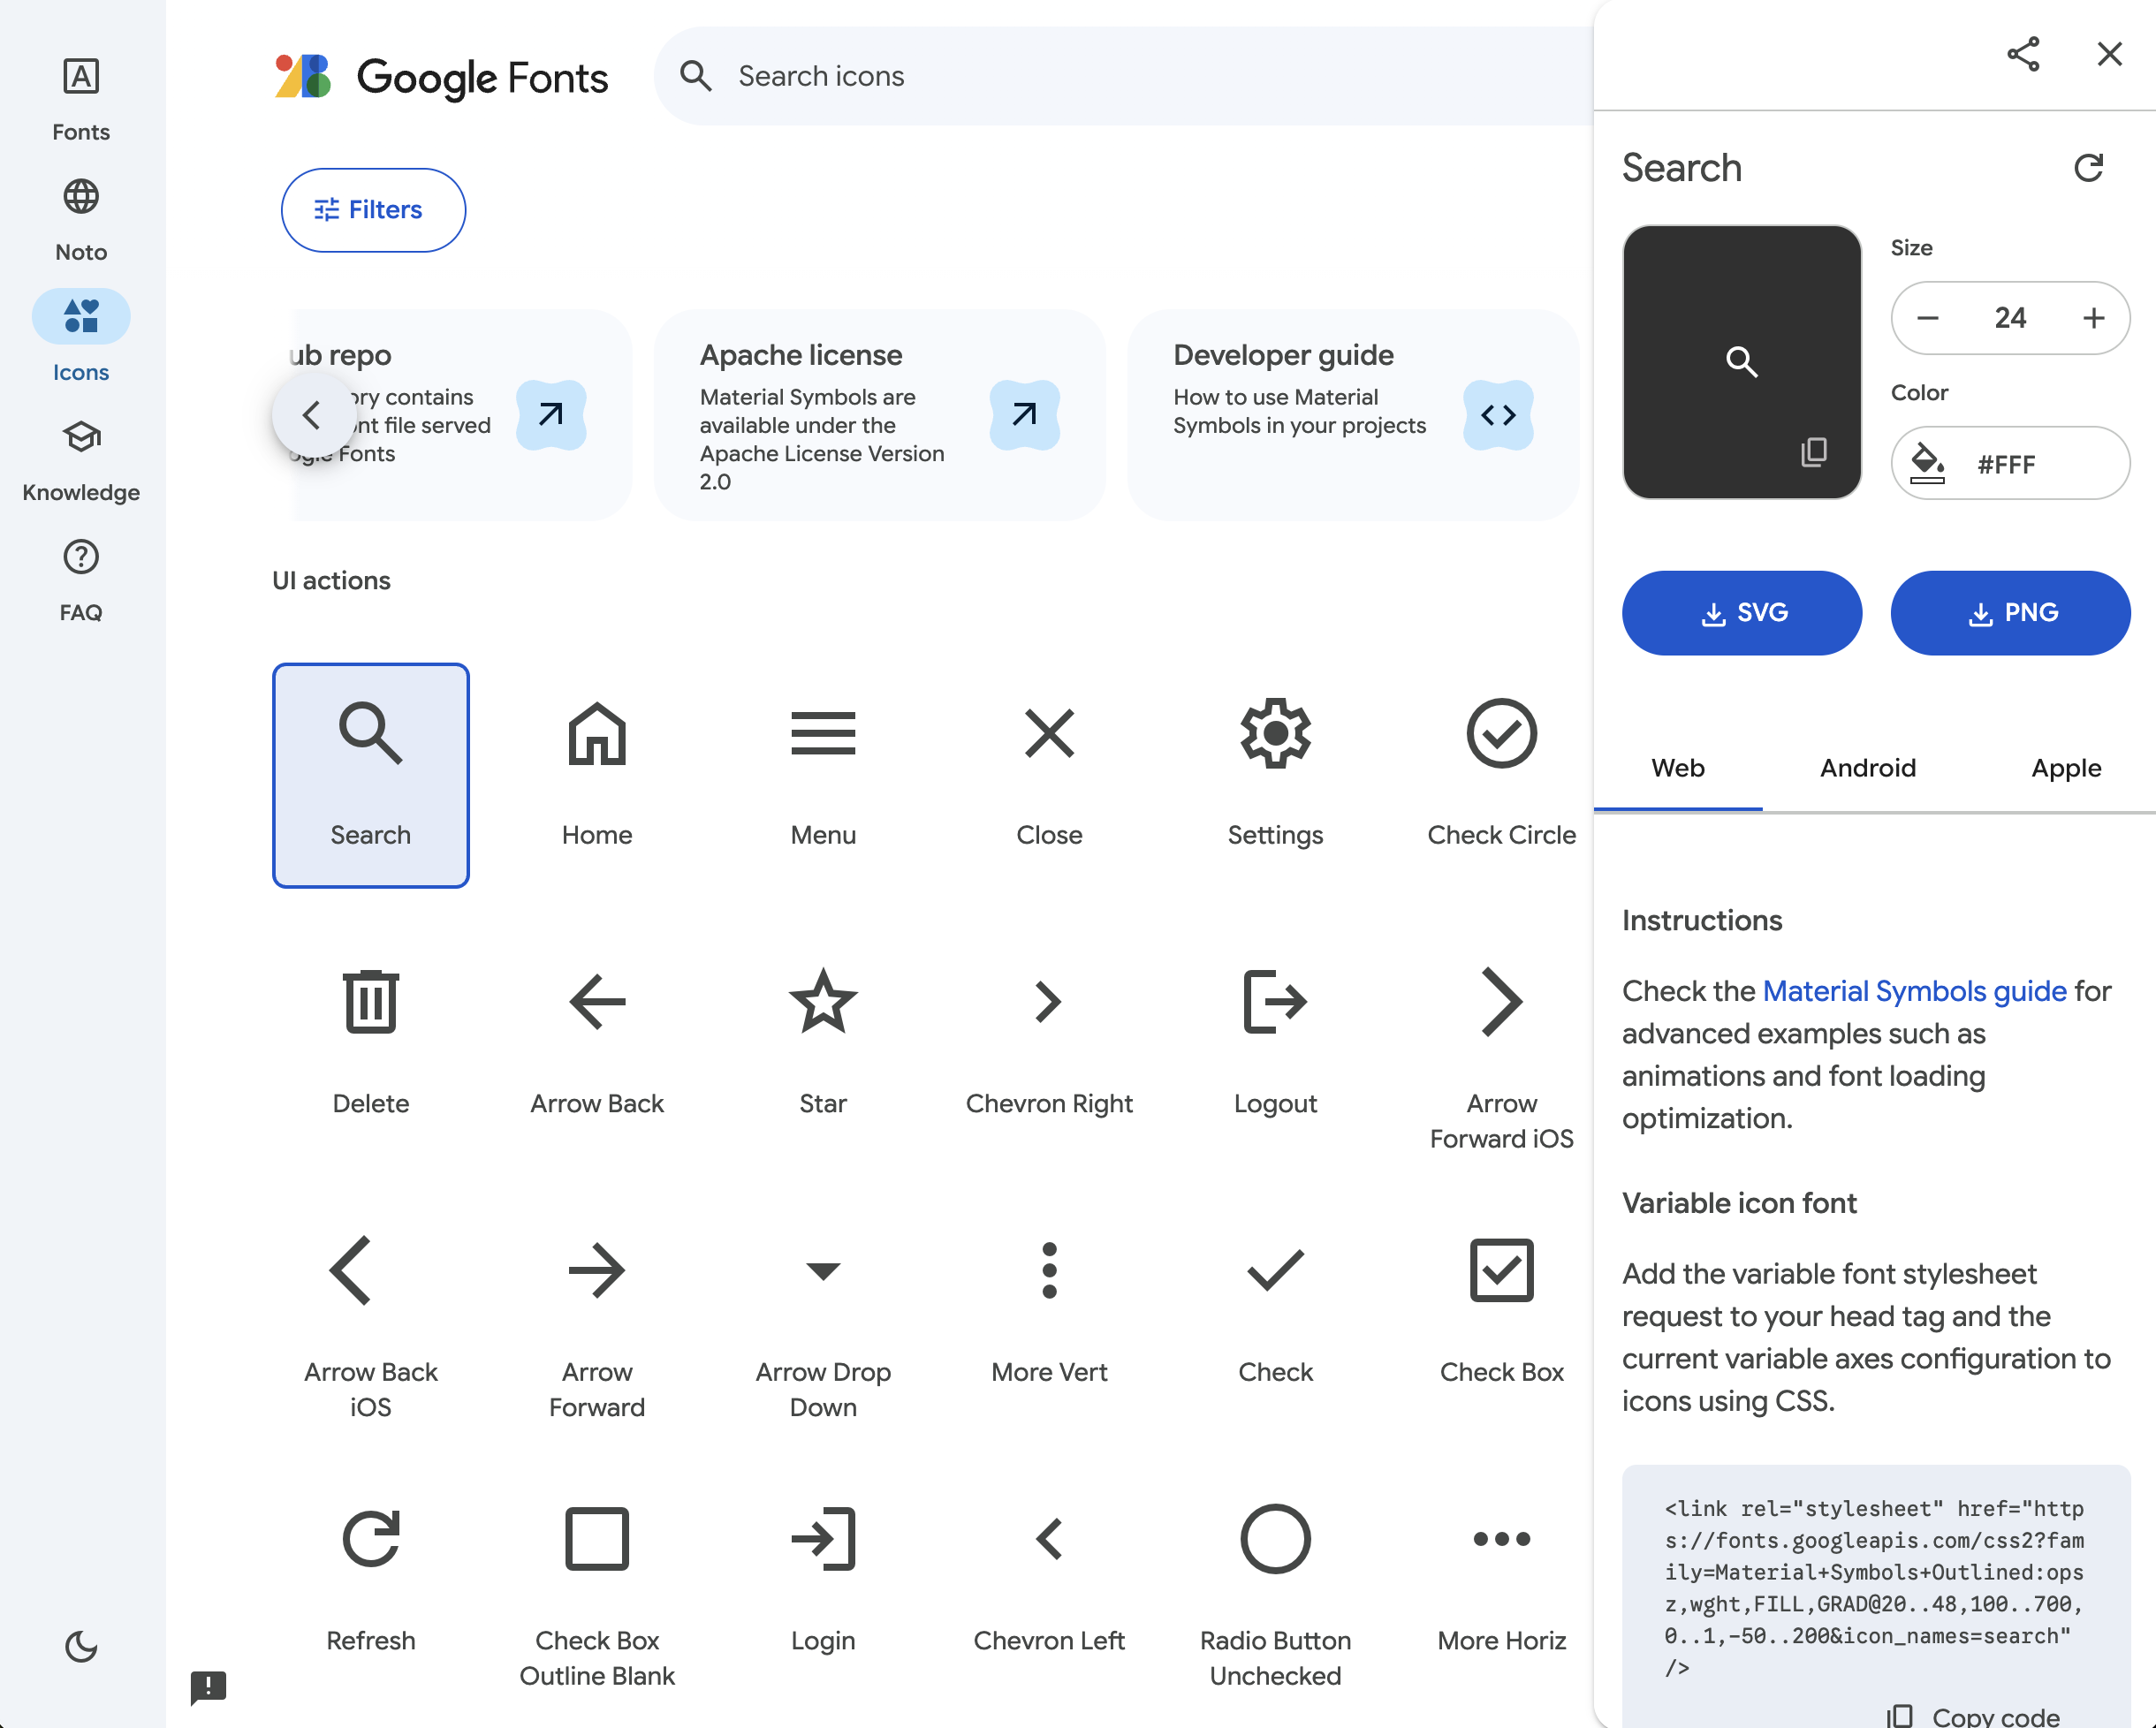
Installing Material Symbols icons font
To begin using Google Icons Fonts locally, the first crucial step is to download the font. Keep in mind that the download process on the Google Fonts website requires a specific method, as these fonts are primarily designed for online integration, making local downloads less straightforward.
Open the Google Material Icons font website.
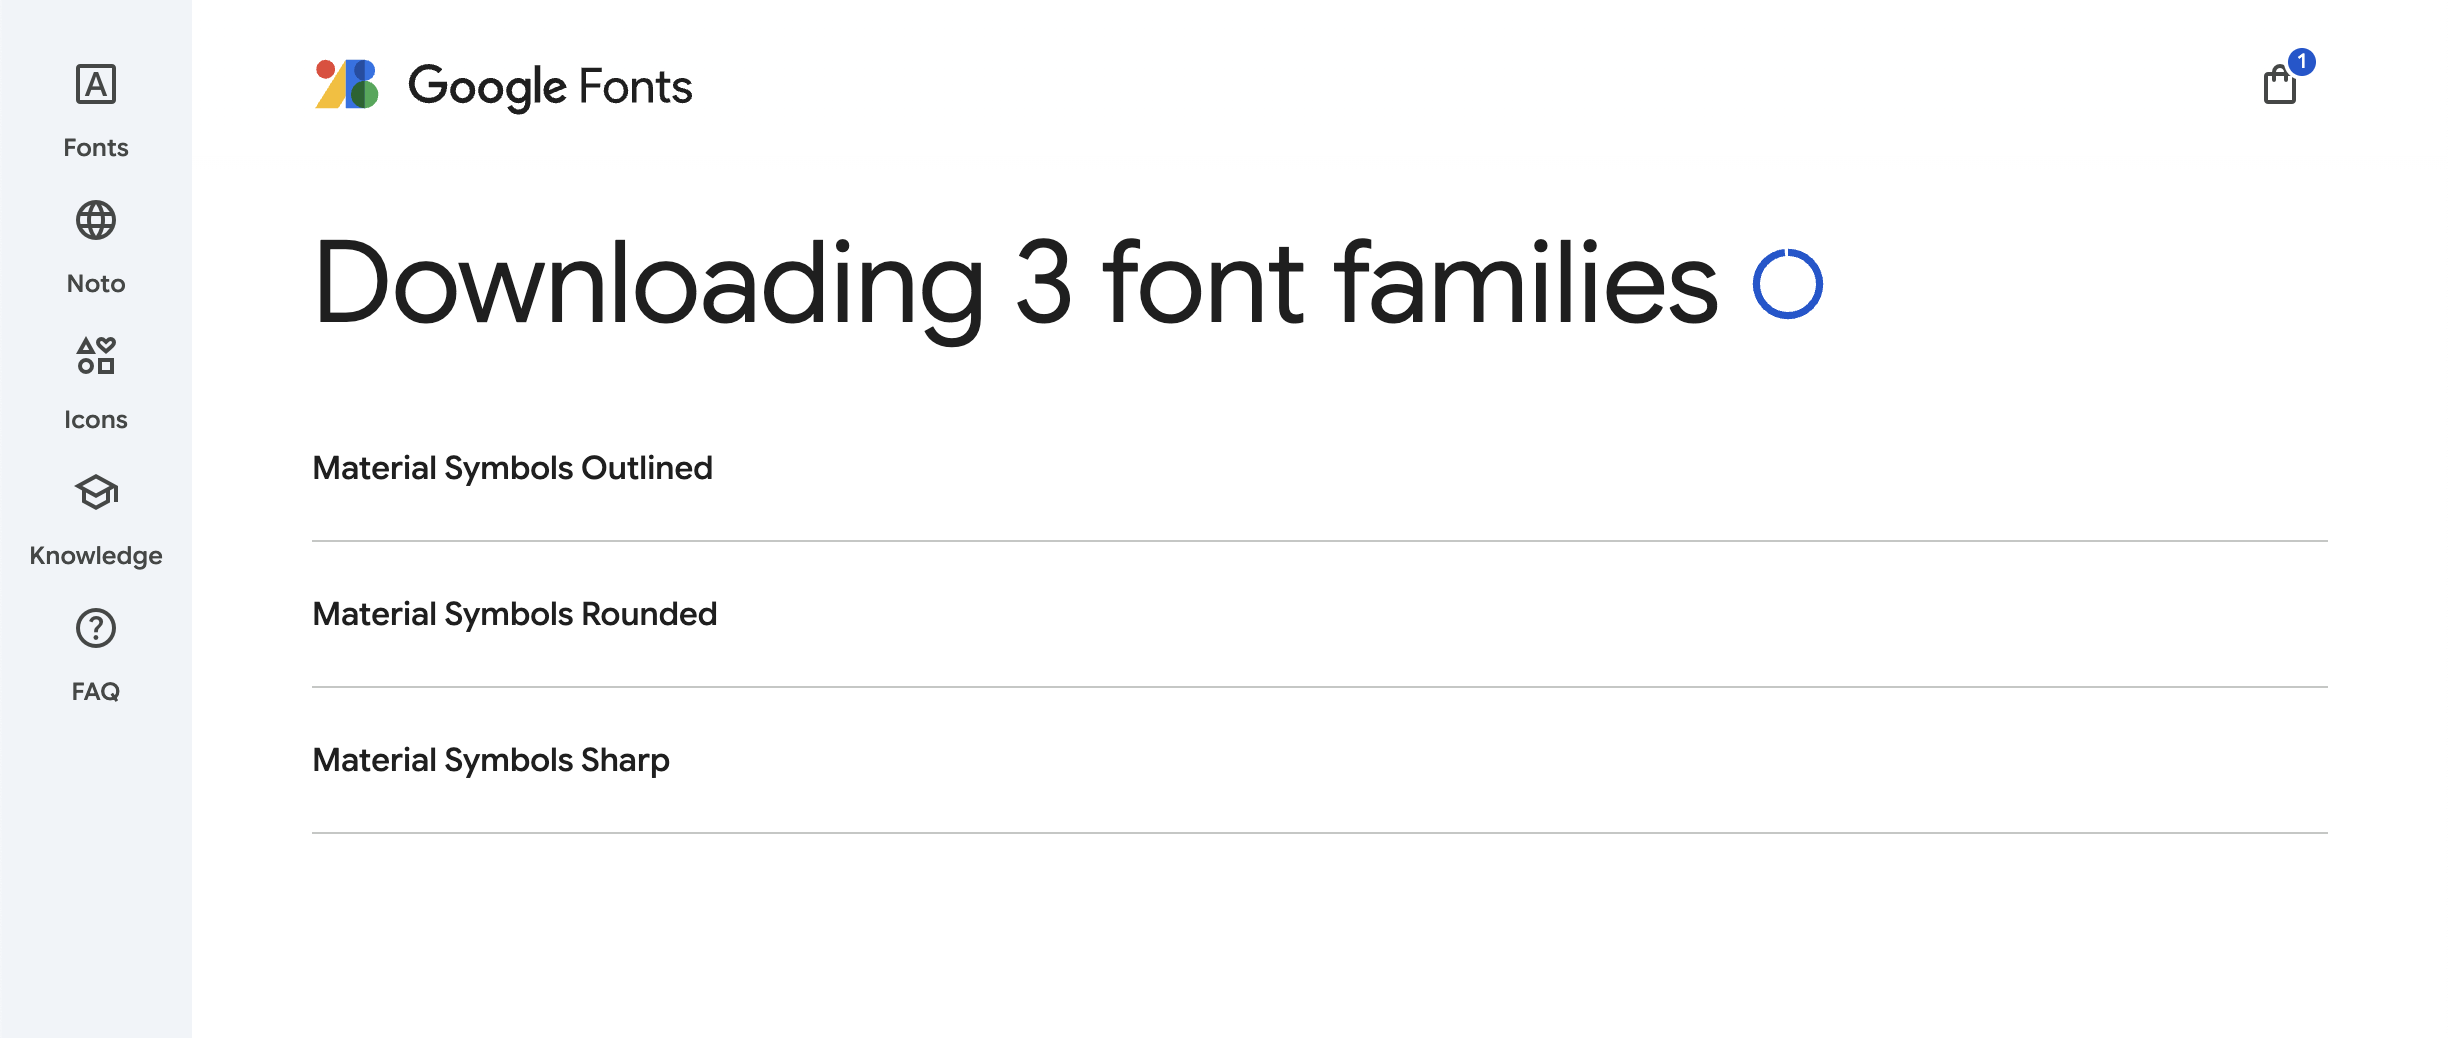
Select 'Download Material Symbols'.
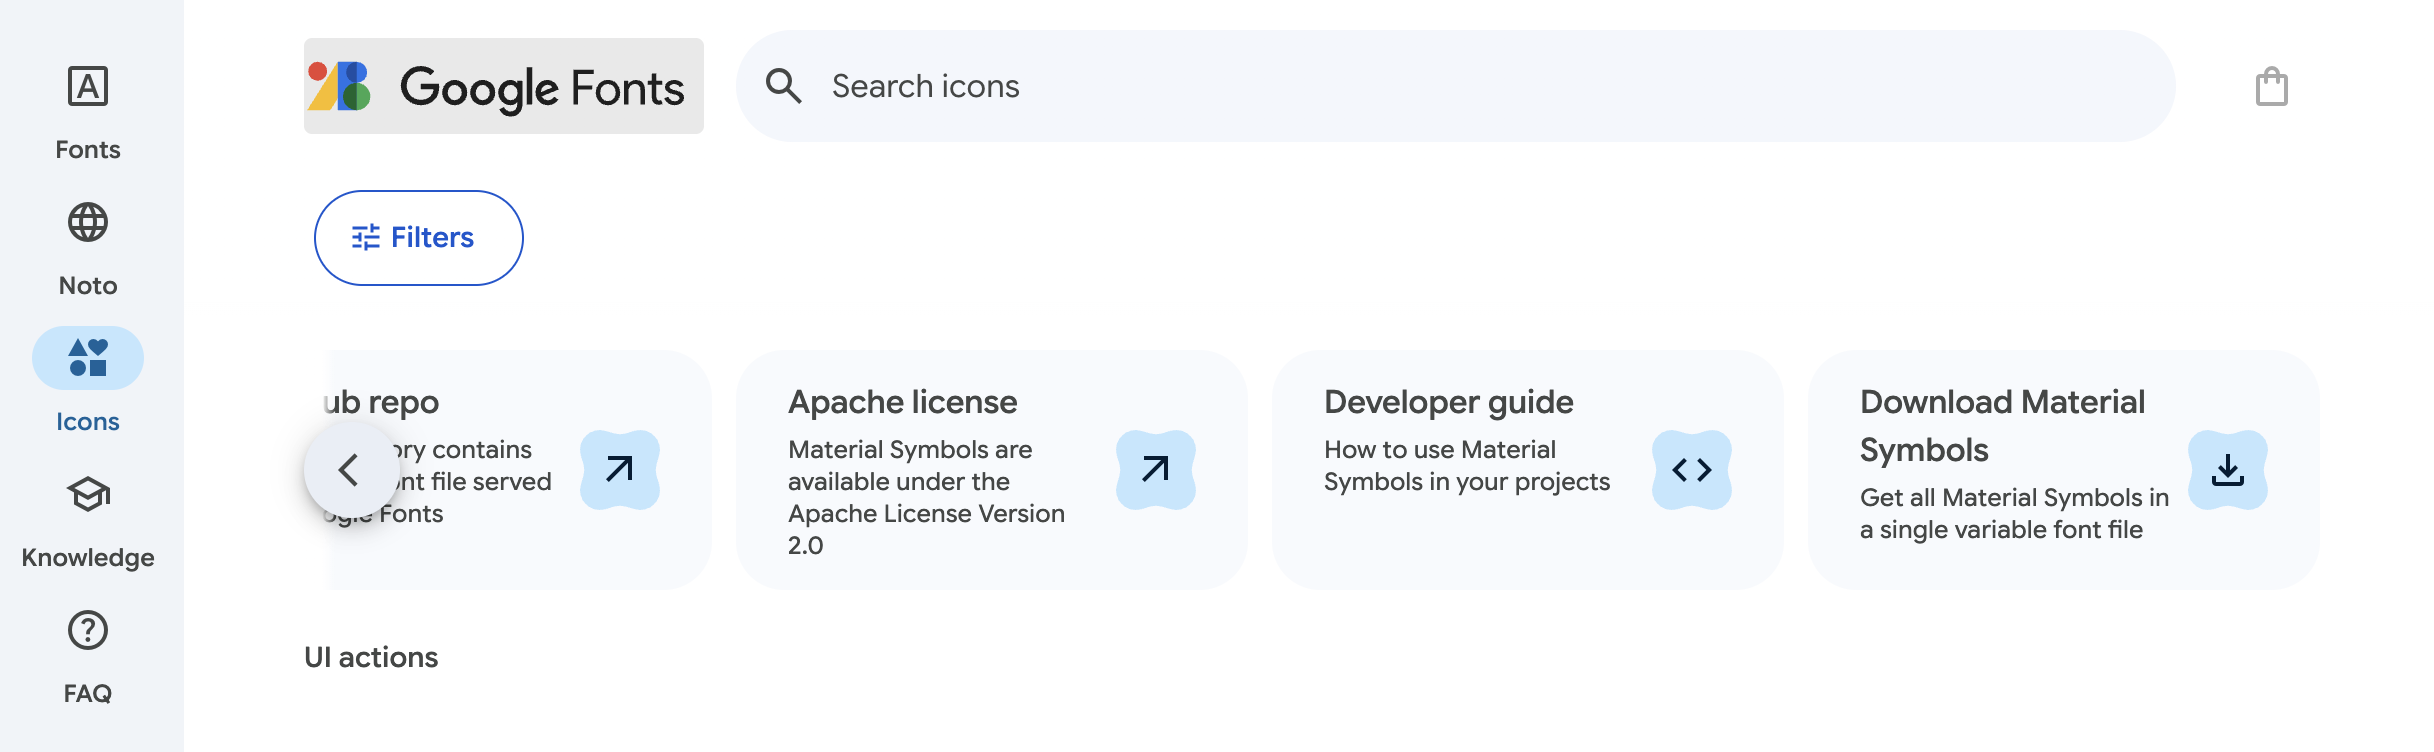
Download Selected Font.
Once your new font files are in the correct system directory, they should be available for use in all your applications. However, if an app was open during the font installation, you'll likely need to restart it to see the new font in its menu.
- On macOS, the system font location is Macintosh HD > Library > Fonts
- On Windows, the location is C:\Windows\Fonts
How to install fonts in Windows
Installing Google Fonts in Windows 10 is a straightforward process: simply download the font files, unzip them, and then install them. However, be mindful of the number of fonts you install, as an excessive amount can negatively impact your computer's performance. If you notice applications becoming sluggish or web pages loading slowly, consider removing some of your less frequently used fonts.
To install Google Fonts on Windows:
- Download a font file to your computer.
- Unzip that file anywhere you like.
- Locate the file, right-click, and select Install.
How to install fonts on Mac OS
Similar to Windows, macOS, despite its own font preferences, can readily work with diverse font formats. The installation approach is also largely analogous.
- Download a font file to your Mac.
- Unzip the font file somewhere.
- Double-click a .ttf or .otf file to open Font Book.
- Preview the font to make sure it appears how you want it to.
- Select Install in Font Book.
Font Book is a built-in macOS application that allows you to manage all the fonts on your system. You can both add and remove fonts using this app, providing a convenient way to uninstall fonts you no longer need or don't like.
Using a font manager
Next Steps: Once you've browsed and found the Google Icons you need on the website, the next step is to choose how you want to use them. You'll typically have options to:
- Download the icons: This allows you to use them as individual SVG files or as an icon font file on your computer or within design software.
- Integrate via code: For web projects, you can link to the Google Fonts CDN or install icon packages via npm/yarn to easily embed them in your website.
The specific steps for downloading or integrating will depend on your project needs and the format you prefer. The Google Fonts website provides clear instructions for each option once you select an icon or a set of icons.
Font management applications are particularly beneficial for users with extensive font libraries or teams collaborating on large shared collections. These tools allow you to have a vast number of fonts installed, but only a specific set needs to be actively activated at any given time. Only activated fonts will appear in your applications' font menus.

By following these steps, you can effectively copy Google Material Icons as text characters and use them within your Figma or Sketch app designs, leveraging the scalability and styling capabilities of text:
- Copy the Icon Name: Directly below the icon preview in the "font" section, you'll usually see the Icon Name itself. Select this name and copy it (Ctrl+C on Windows, Cmd+C on Mac).
- Open Figma or Sketch and select the Text tool: In your project, select the Text tool (the "T" icon) and create a text layer where you want to place the icon.
- Paste the copied glyph: With your text layer selected, paste the copied character (Ctrl+V on Windows, Cmd+V on Mac).
- Font Family: For the pasted glyph to render as the intended icon, you need to ensure that the font family of your Figma text layer is set to one of the "Material Symbols" fonts (e.g., "Material Symbols Outlined", "Material Symbols Rounded").
- Styling: Once pasted as text, you can style the icon using Figma or Sketch text styles, such as size, color, and weight. Or apply pre-made styles from the UI kit or a purchased design system.

Summary
Material Icons Font, now often referred to as Material Symbols, is a comprehensive set of open-source icons designed by Google. These icons are available in various styles like Filled, Outlined, Rounded, Sharp, and Two Tone, offering flexibility for diverse design needs. As a font, they provide scalability without loss of quality and can be easily styled using CSS properties like color and size, making them a versatile resource for both web and app development.
Material Symbols, as a font, offer a streamlined approach to incorporating icons in website and mobile app design. By embedding the font files or linking to a CDN, developers can easily access and implement a vast library of consistent, scalable vector icons directly within their code. Styling these icons becomes as simple as applying CSS text properties, allowing for dynamic adjustments in size, color, and even weight. This method promotes efficiency and maintainability, ensuring a unified visual language across digital interfaces with minimal overhead.


