

Streamlining your workflow as a designer includes thoughtfully building and maintaining your computer's font collection. This can be significantly optimized by knowing where font files reside and by actively using font management software for organization. For those utilizing variable fonts, further consideration is needed. This article serves as a complete guide to efficient font management, covering both static and variable font types.
The Google Fonts website provides a substantial and highly adaptable collection of fonts suitable for a wide range of media and systems. Though other online font sources are available, its extensive nature makes it a standout. While optimized for website design, you can readily leverage Google Fonts for your local design work too.
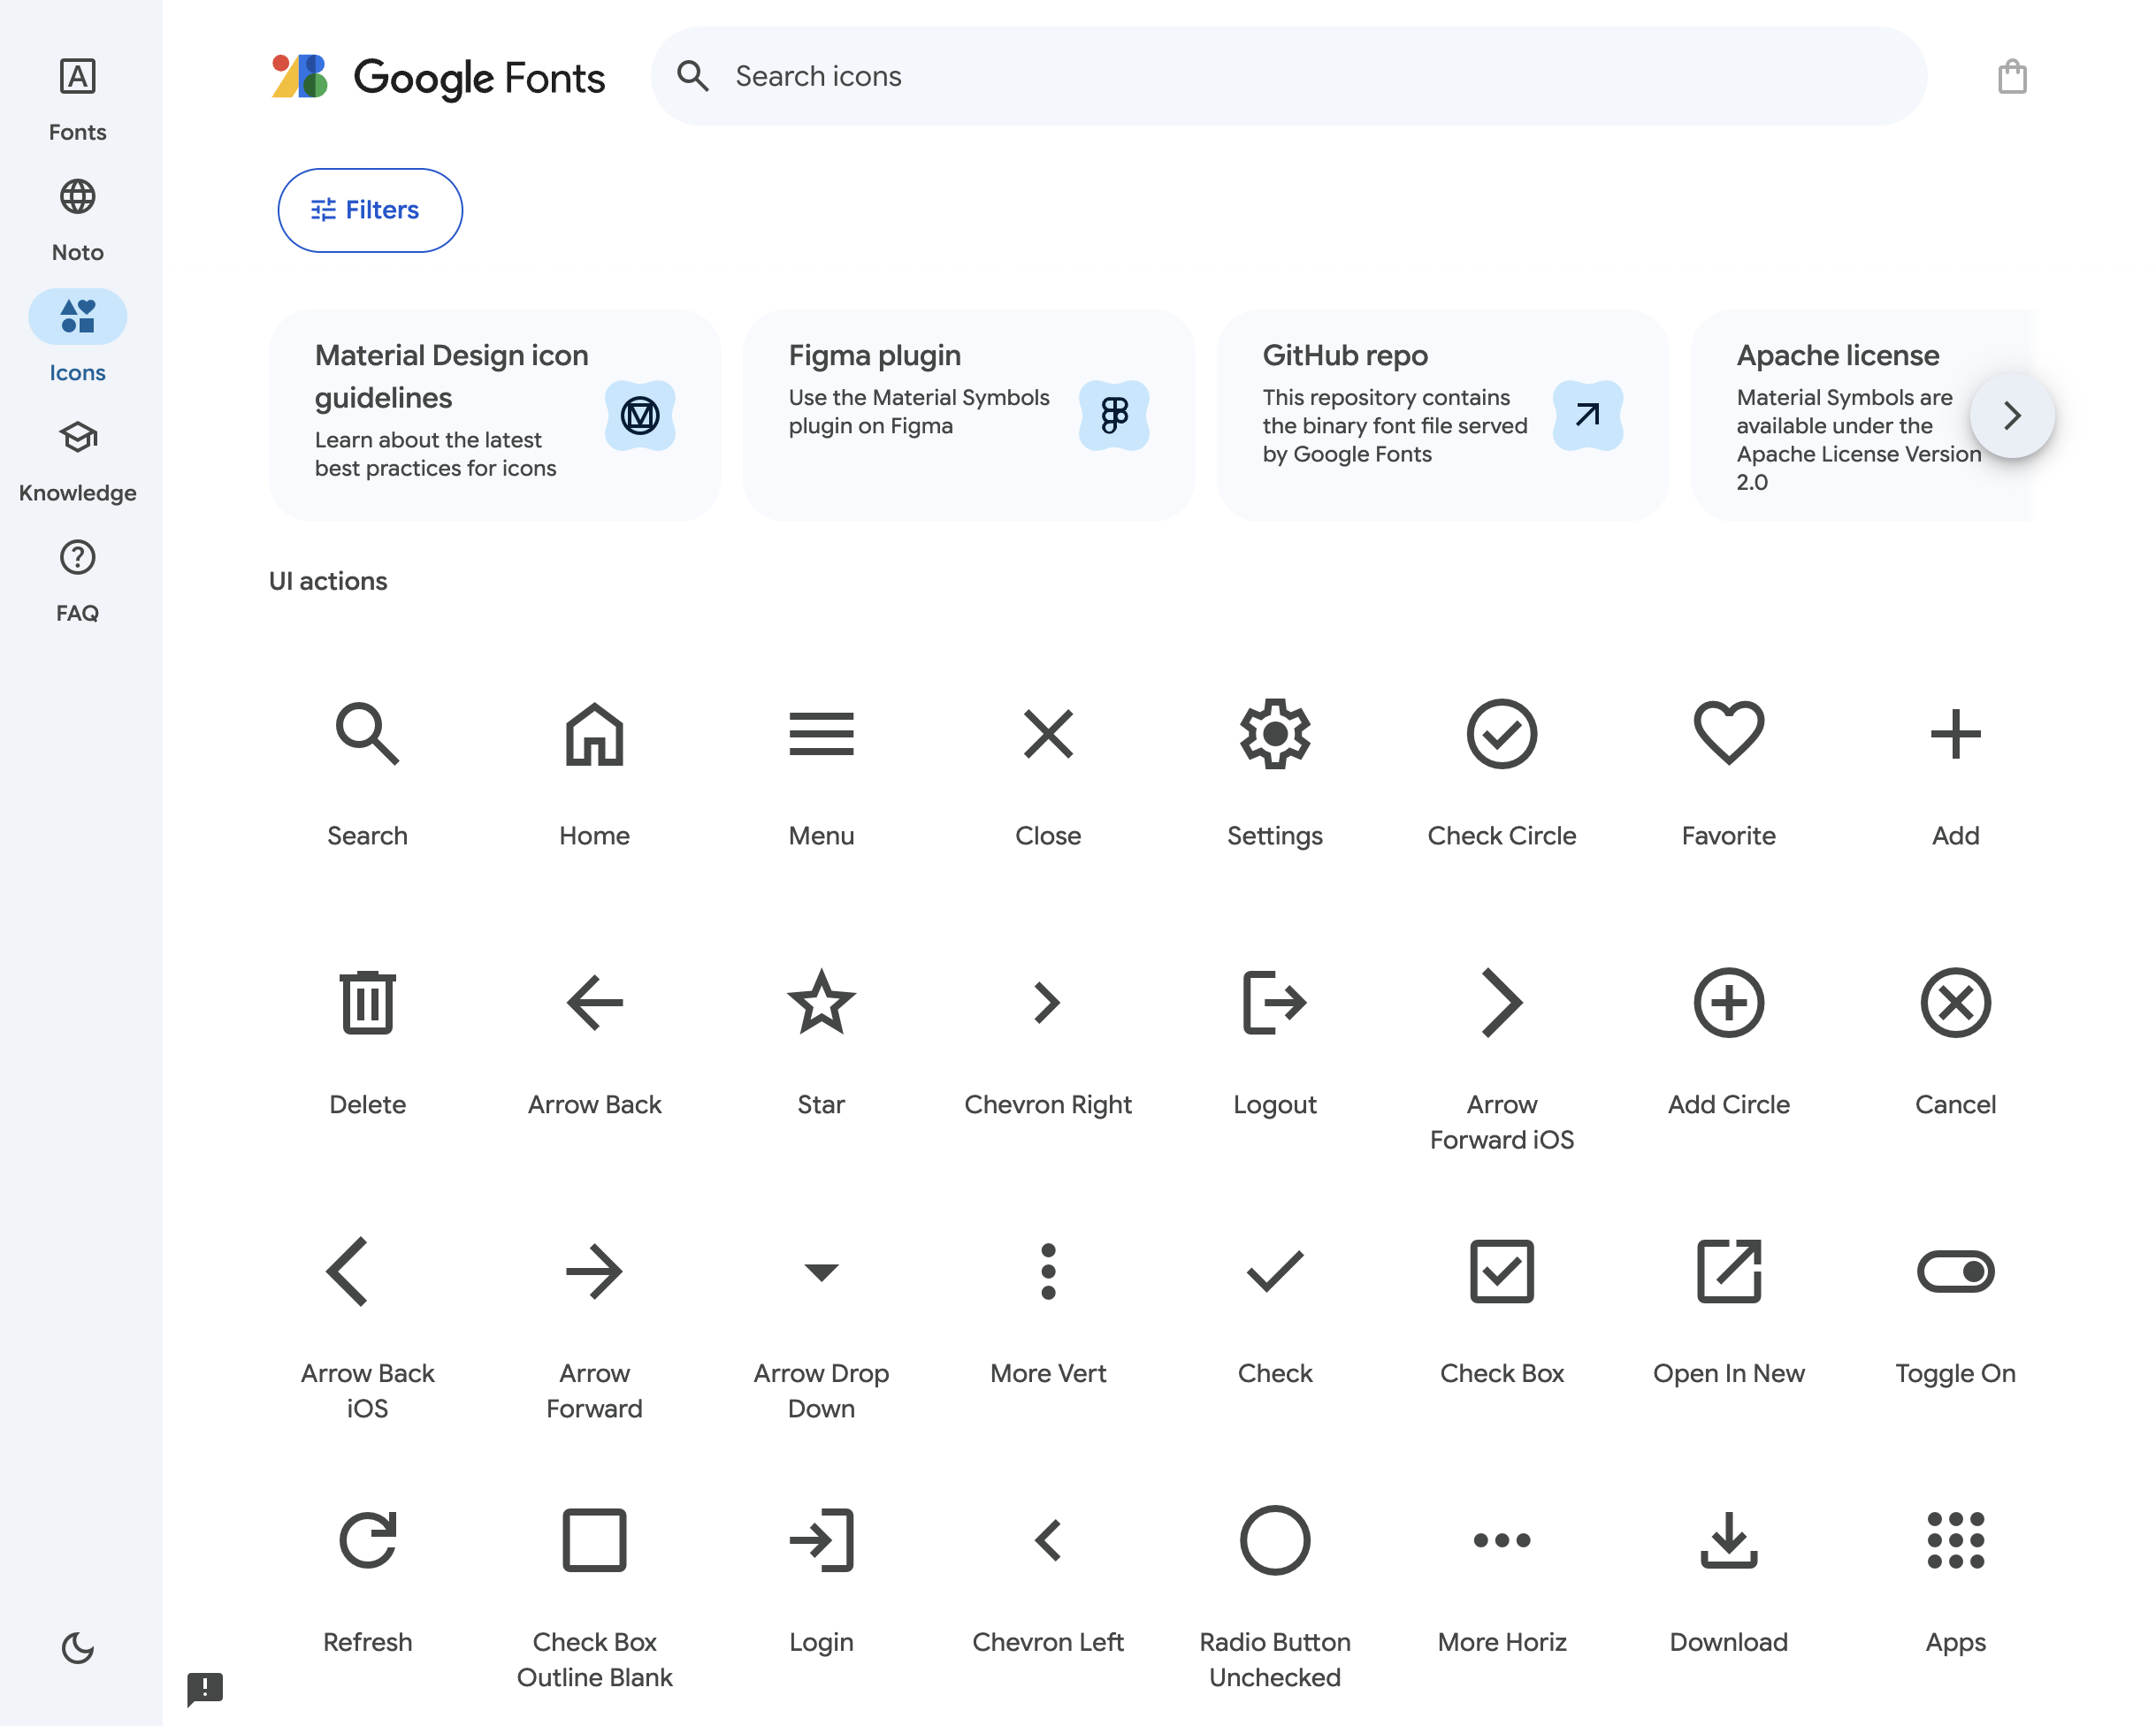
Finding & installing Google fonts
To begin using Google Fonts locally, the first crucial step is to find and download the font you need. Keep in mind that the download process on the Google Fonts website requires a specific method, as these fonts are primarily designed for online integration, making local downloads less straightforward.
Open the Google Fonts website
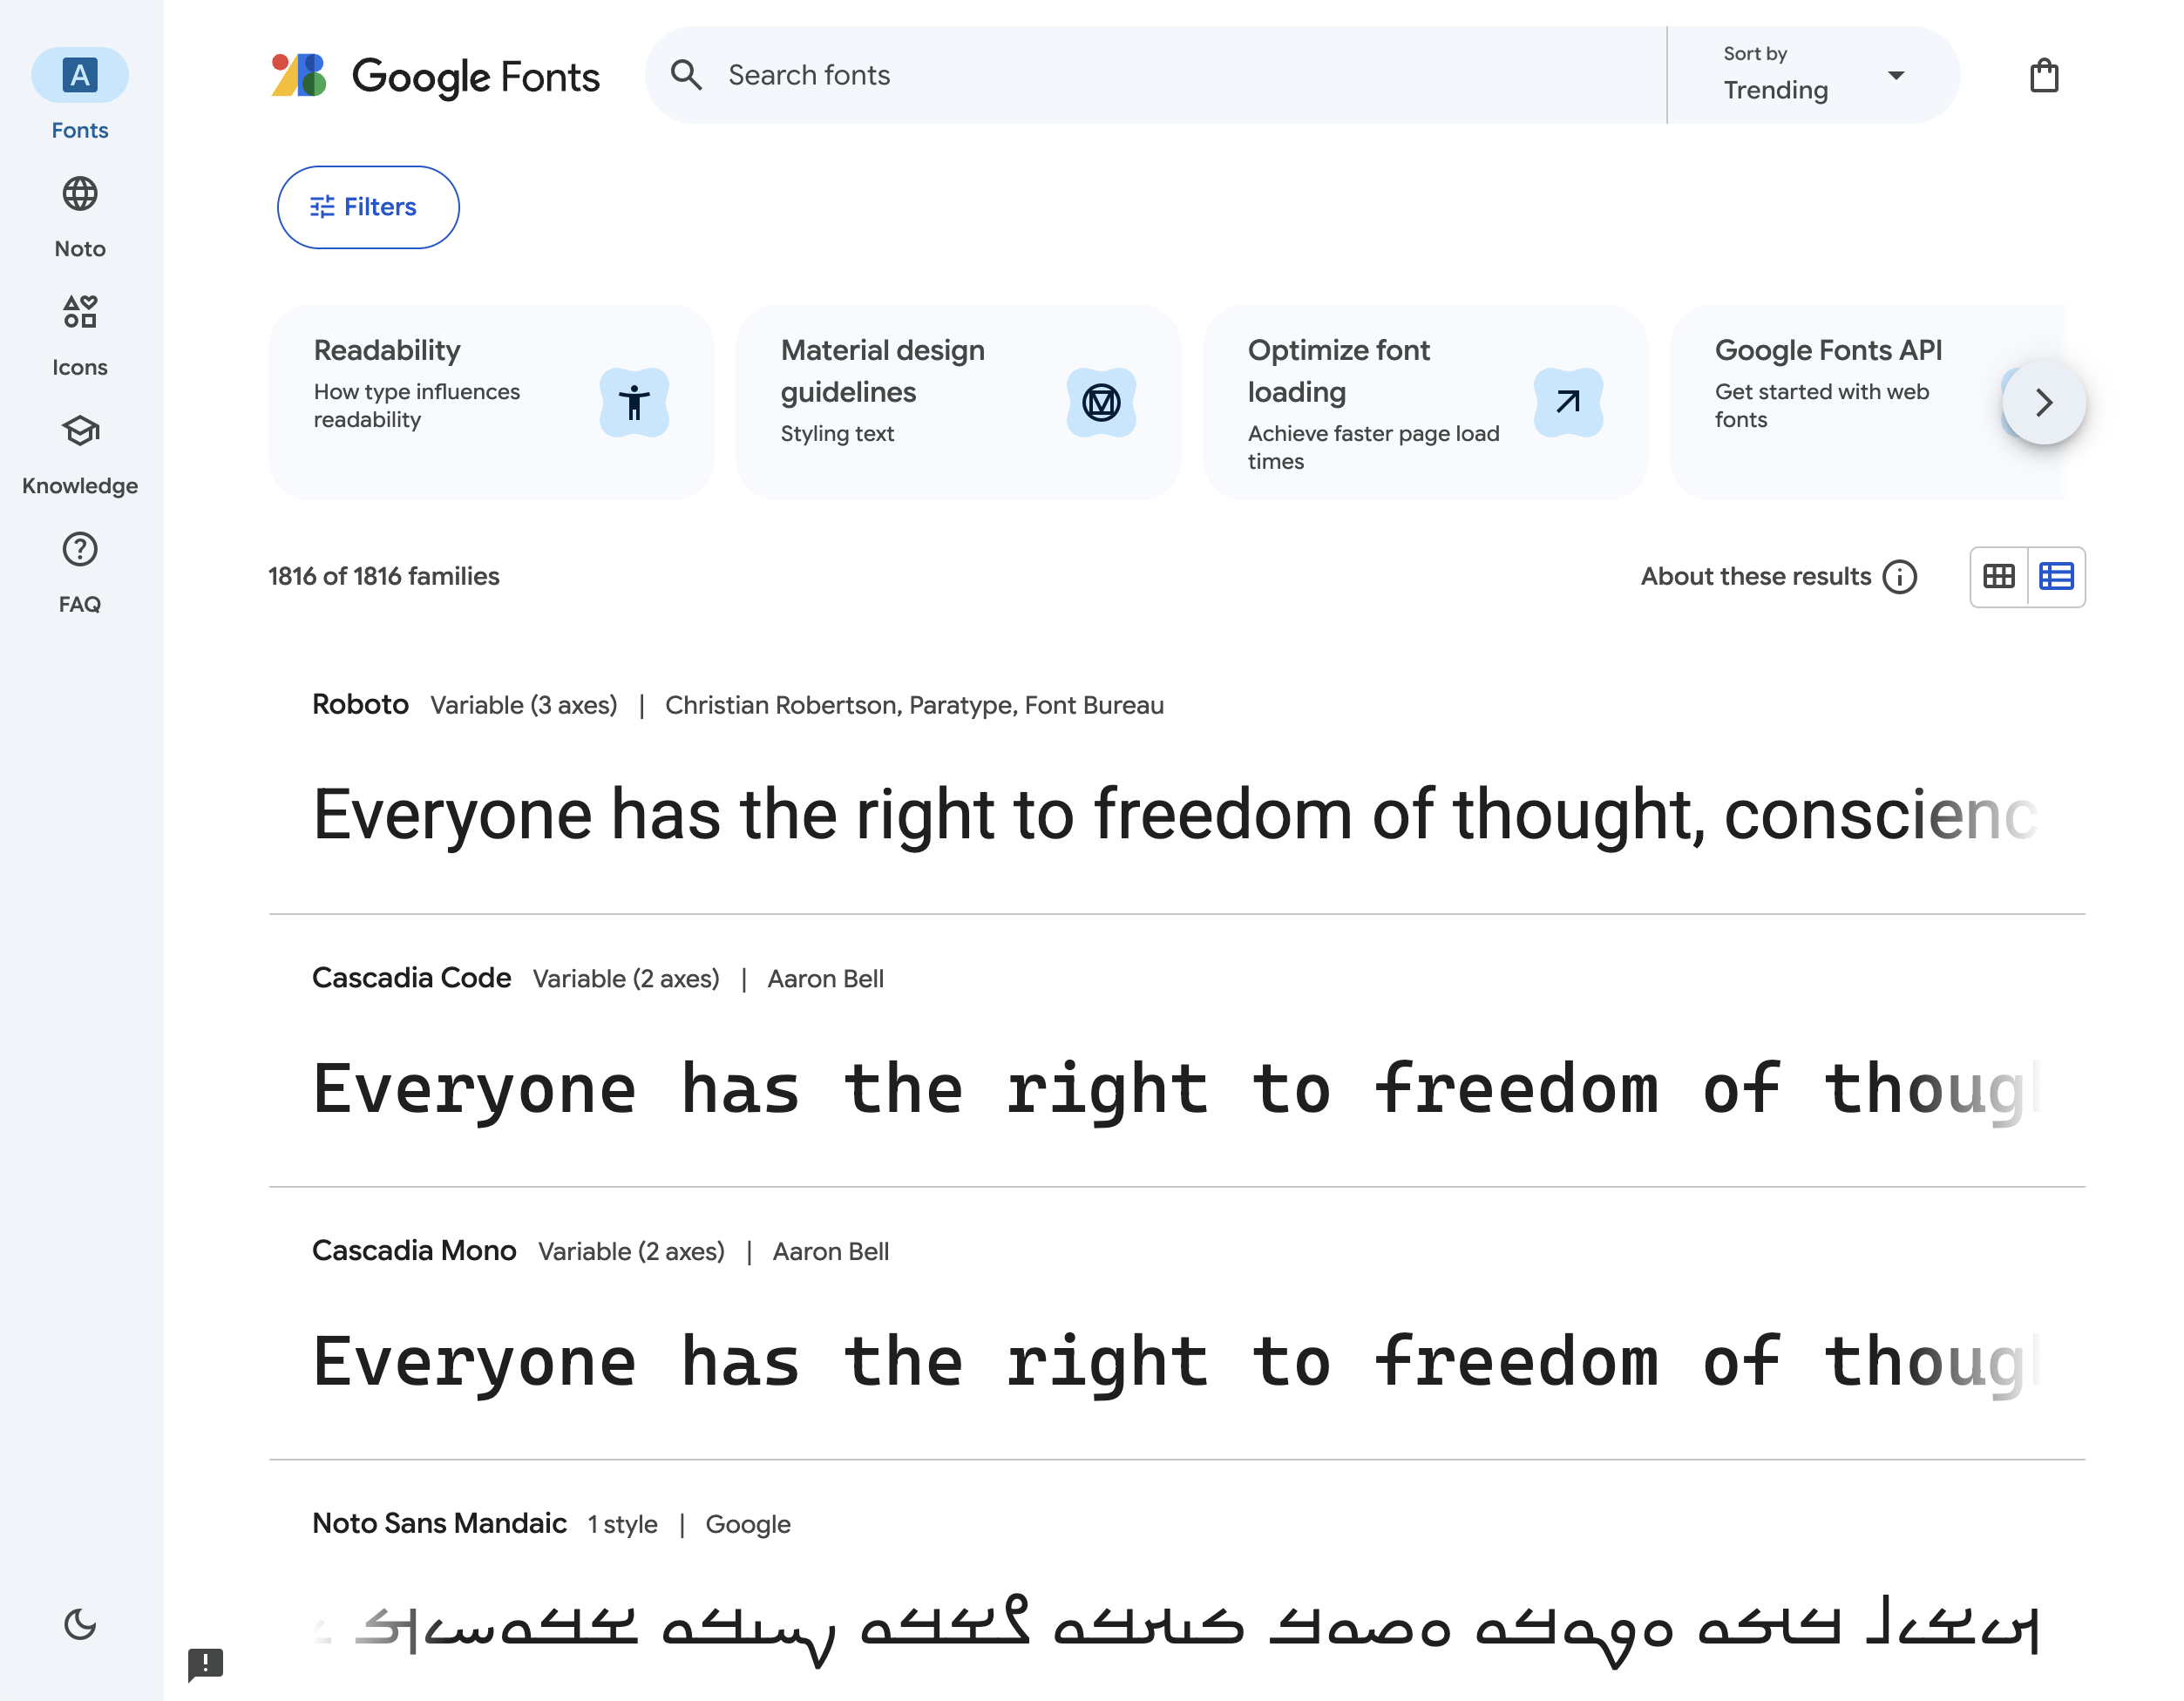
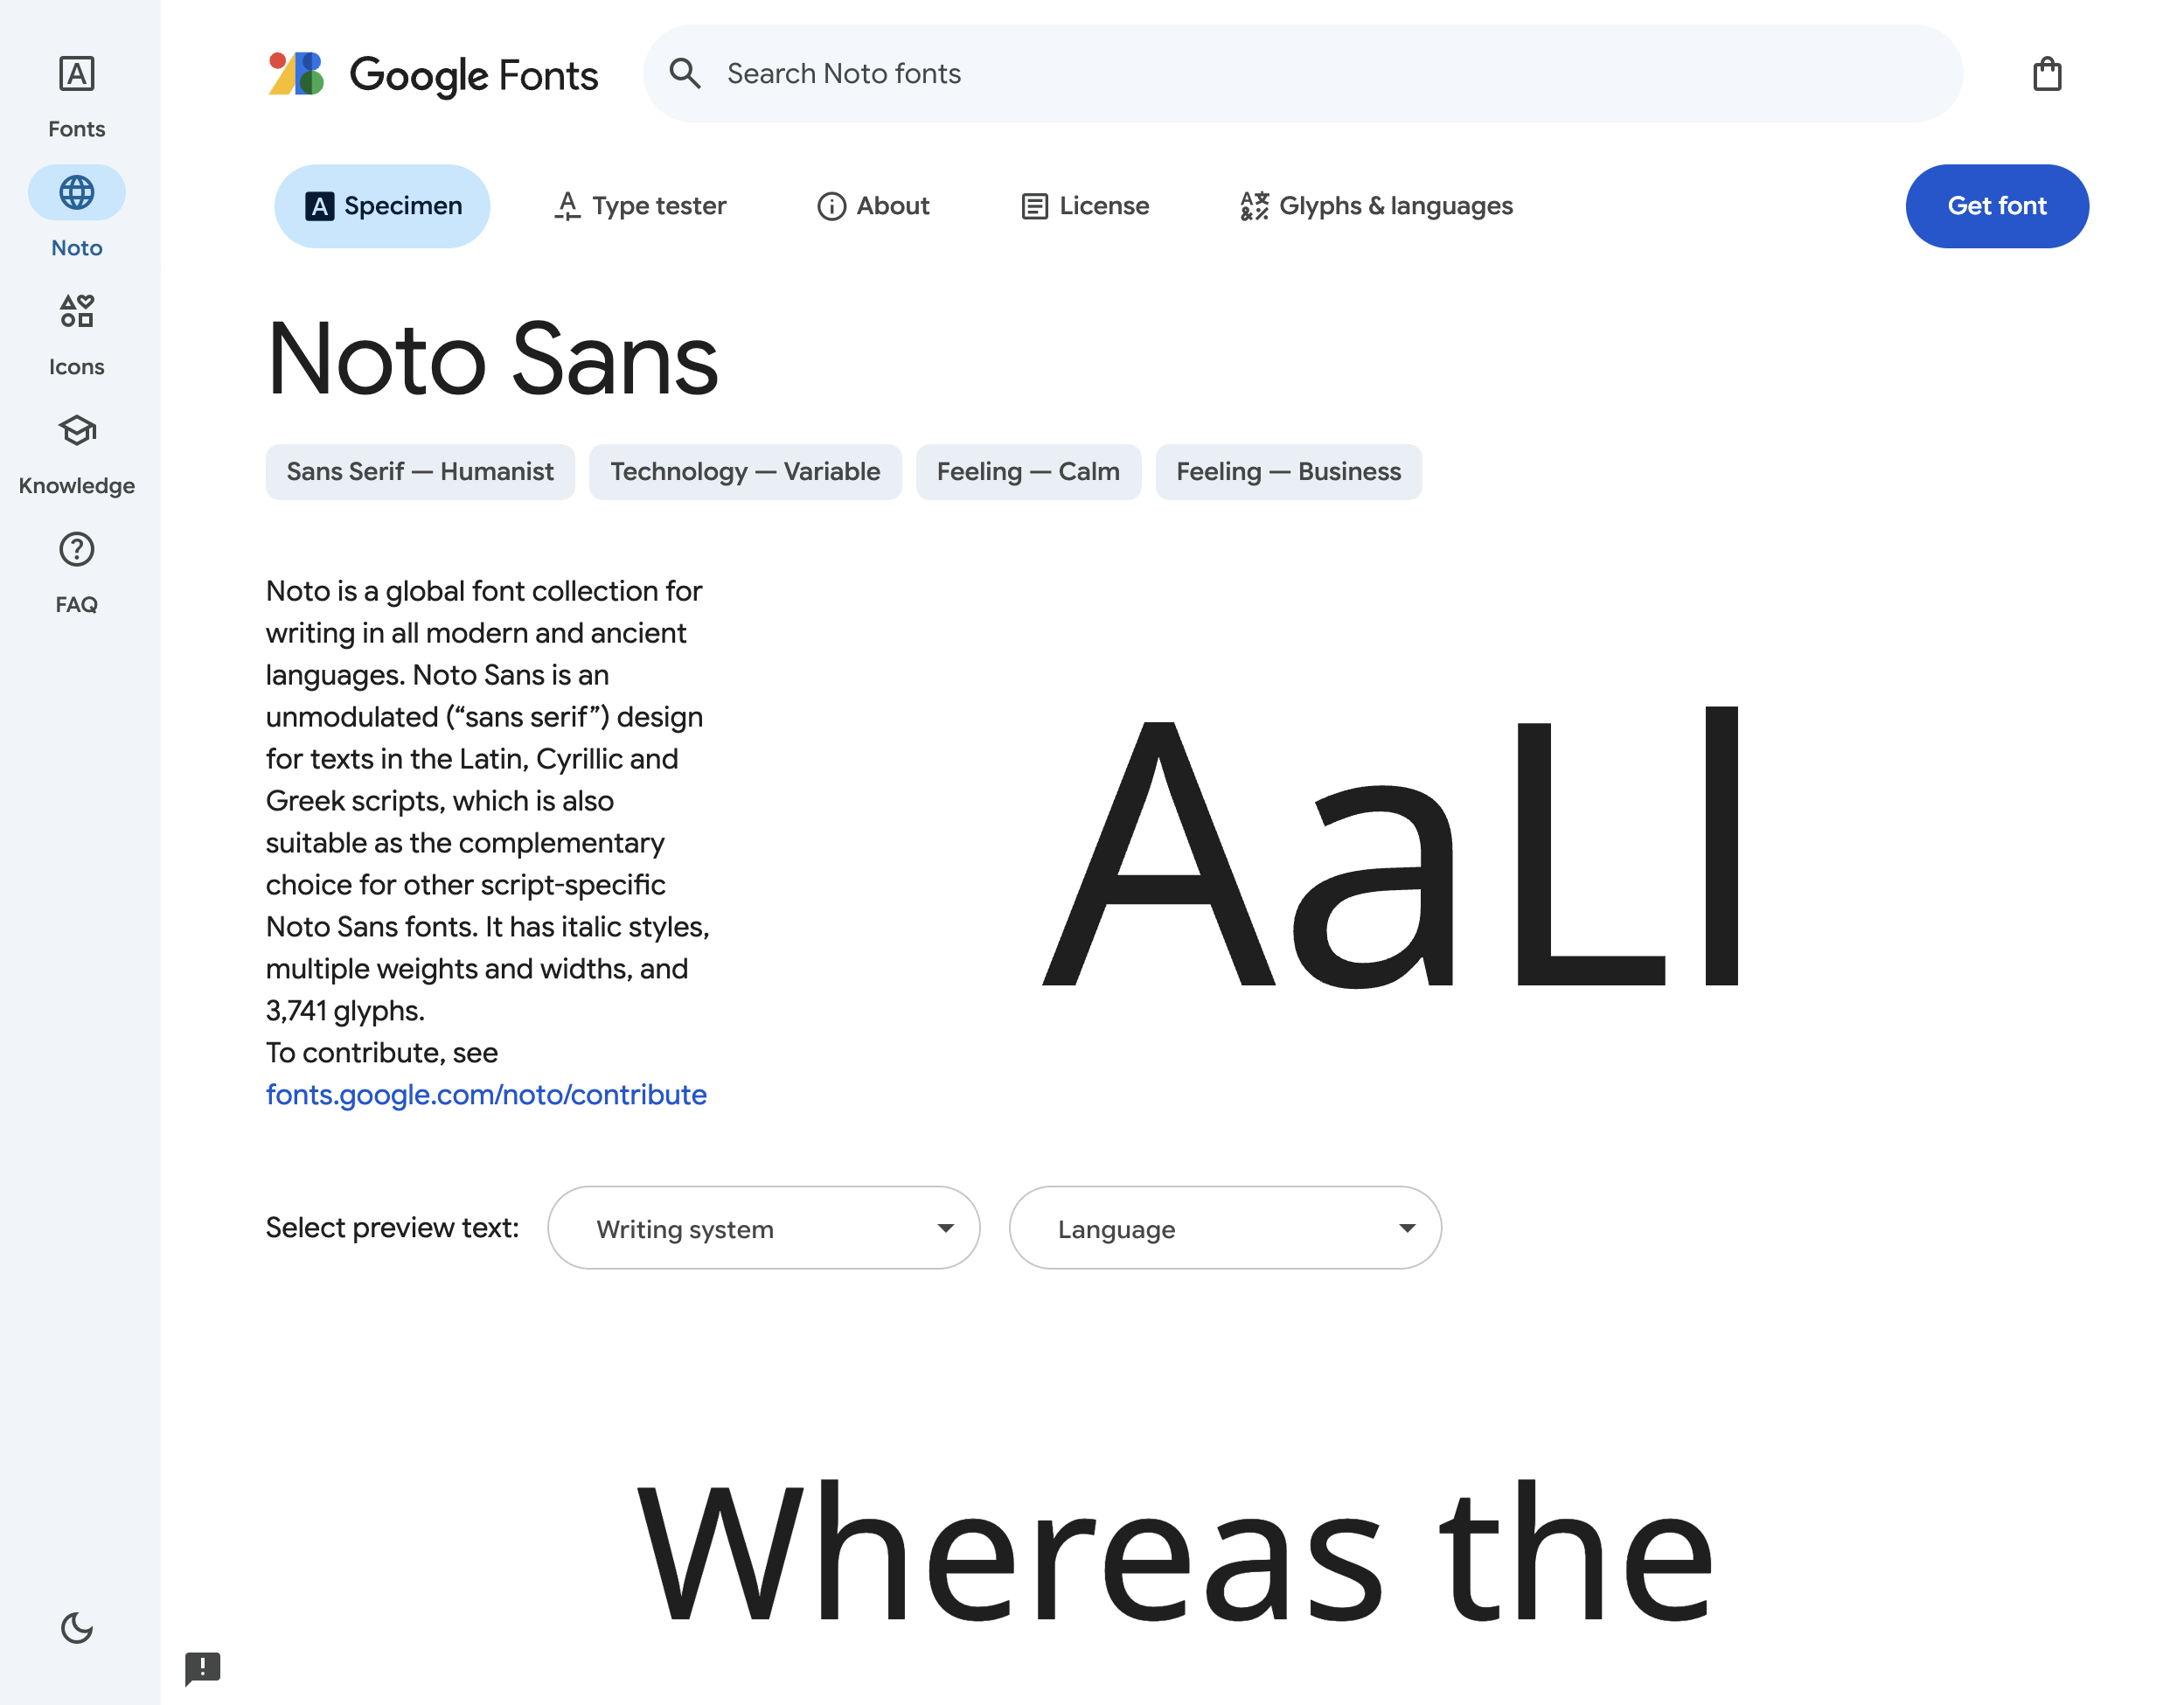
Select a font you want to download.
Choose to download the Font Family (all of the styles within that font), or to select only one style within that family.
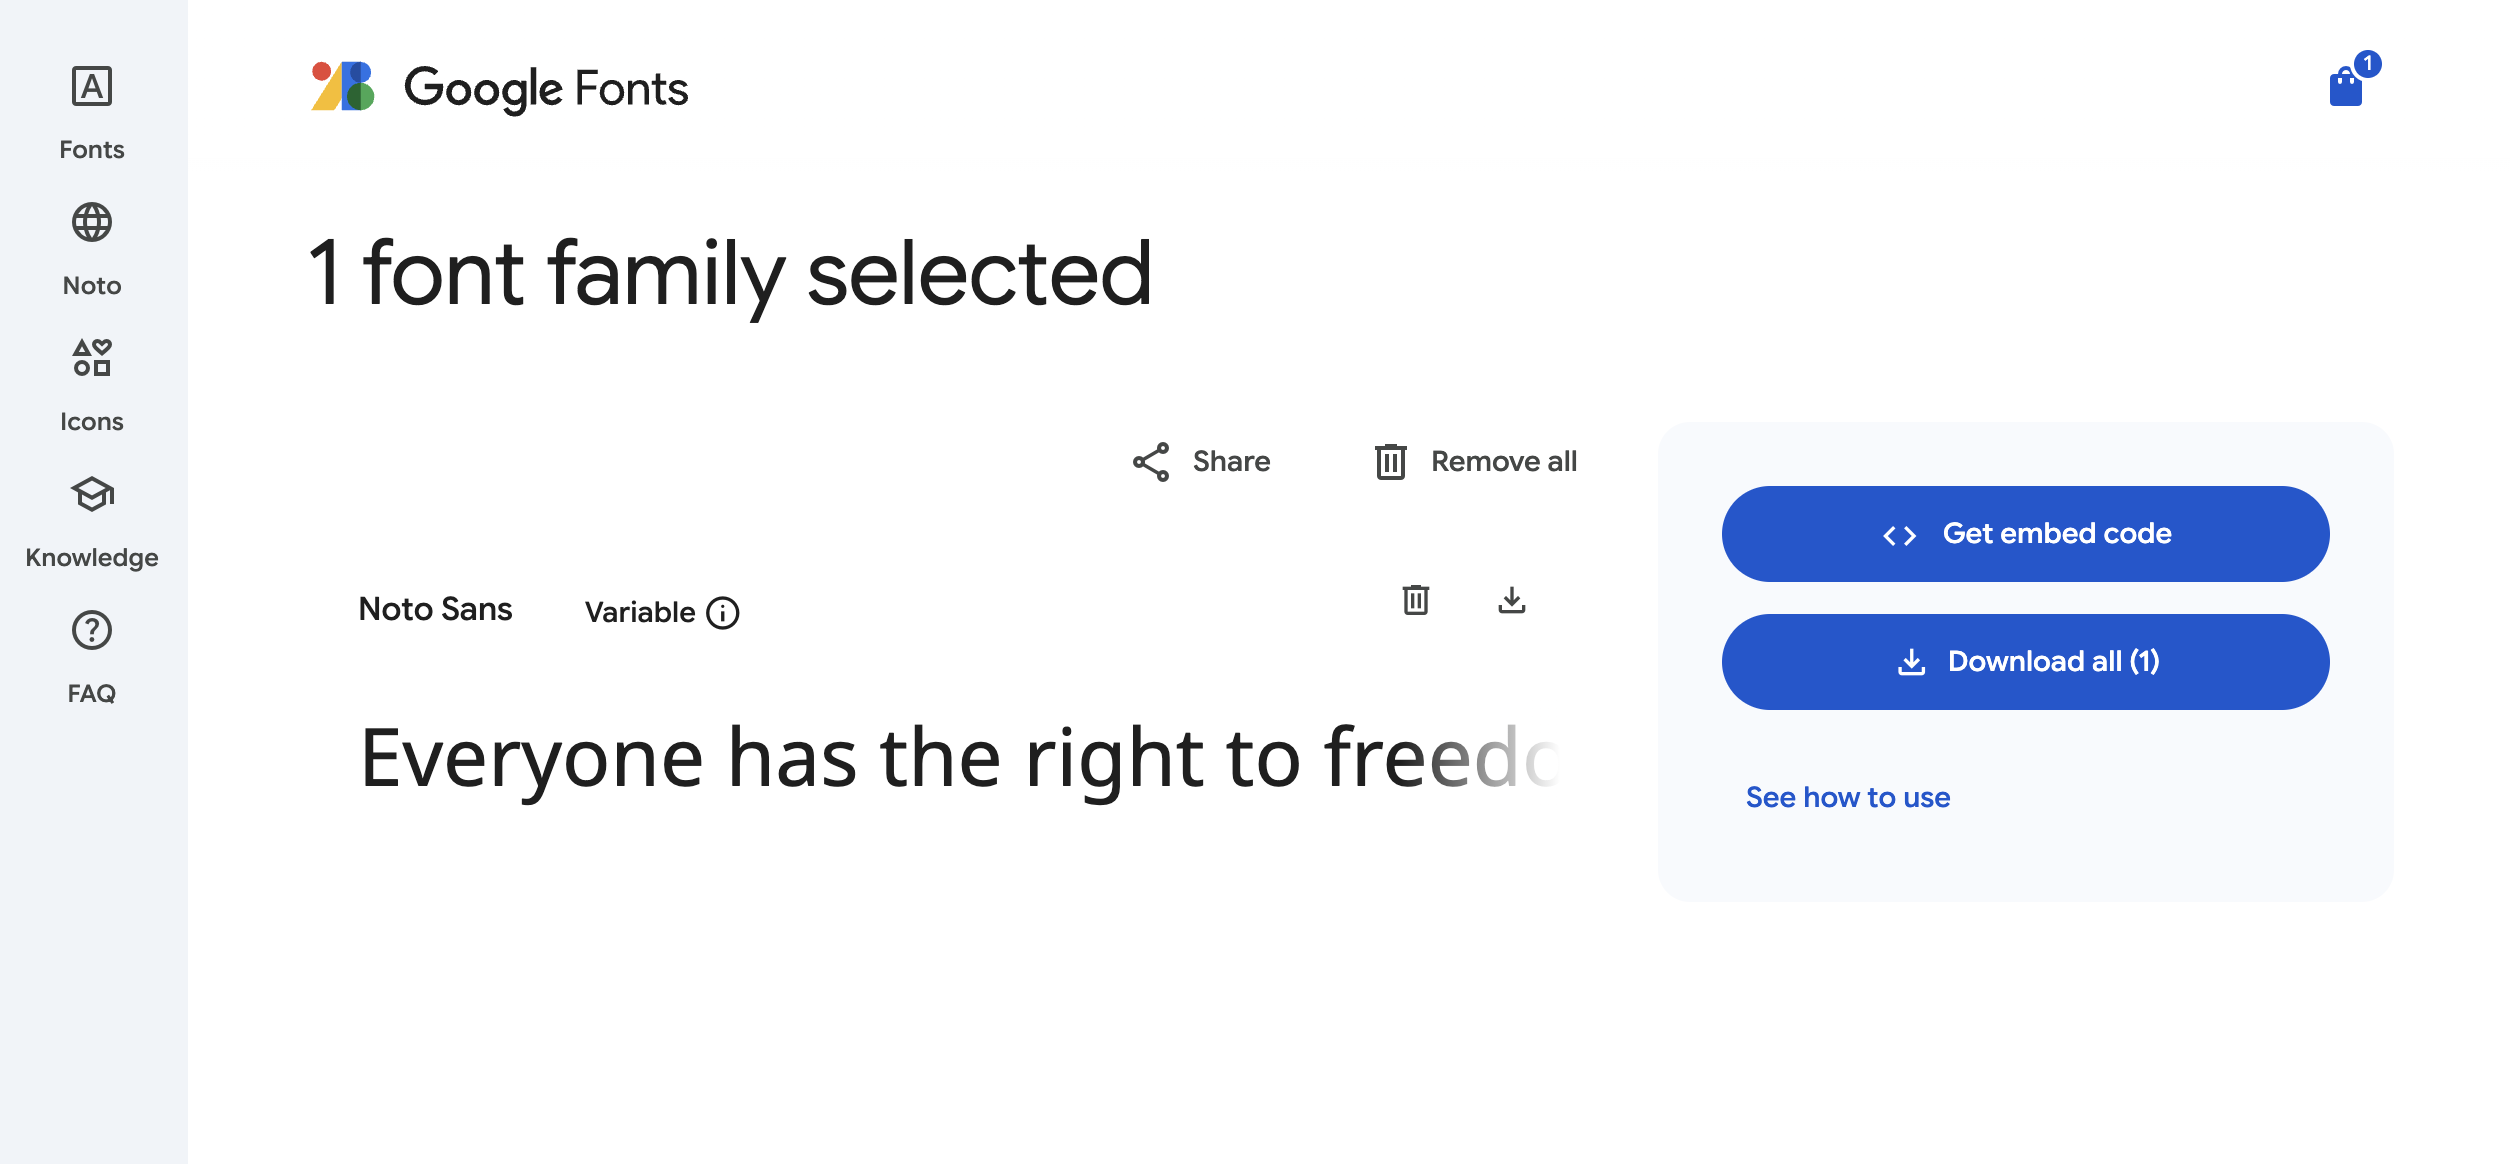
Select ‘Get Font’
Download Selected Font
Regardless of whether you've downloaded a font from a source like Google Fonts or acquired a license from an independent foundry, understanding the location of your font files is essential. Unless you're using pre-installed system fonts or a font manager (explained below), you'll need to transfer these files to your operating system's designated font directory to make them accessible in all applications' font menus.
- On macOS, the system font location is Macintosh HD > Library > Fonts
- On Windows, the location is C:\Windows\Fonts
Once your new font files are in the correct system directory, they should be available for use in all your applications. However, if an app was open during the font installation, you'll likely need to restart it to see the new font in its menu.
How to install Google Fonts in Windows
Installing Google Fonts in Windows 10 is a straightforward process: simply download the font files, unzip them, and then install them. However, be mindful of the number of fonts you install, as an excessive amount can negatively impact your computer's performance. If you notice applications becoming sluggish or web pages loading slowly, consider removing some of your less frequently used fonts.
To install Google Fonts on Windows:
- Download a font file to your computer.
- Unzip that file anywhere you like.
- Locate the file, right-click, and select Install.
How to install Google Fonts on Mac OS
Similar to Windows, macOS, despite its own font preferences, can readily work with diverse font formats. The installation approach is also largely analogous. Notably, macOS provides built-in compatibility for both TrueType (.ttf) and OpenType (.otf) font file formats.
- Download a font file to your Mac.
- Unzip the font file somewhere.
- Double-click a .ttf or .otf file to open Font Book.
- Preview the font to make sure it appears how you want it to.
- Select Install in Font Book.
Font Book is a built-in macOS application that allows you to manage all the fonts on your system. You can both add and remove fonts using this app, providing a convenient way to uninstall fonts you no longer need or don't like.
Using a font manager
Font management applications are particularly beneficial for users with extensive font libraries or teams collaborating on large shared collections. These tools allow you to have a vast number of fonts installed, but only a specific set needs to be actively activated at any given time. Only activated fonts will appear in your applications' font menus.
Here are some popular font managers:
- Font Book (macOS, installed by default)
- FontBase (macOS / Windows)
- Connect Fonts (macOS / Windows)
- Typeface (macOS)
- RightFont (macOS)
Although font management applications vary in their interfaces and specific features, they all provide core functionality: the ability to define where your font library is stored and to choose which fonts are active or inactive. Beyond this, most offer additional organizational tools like grouping and tagging, which can be applied automatically or manually. For those working with variable fonts, some managers provide interactive previews to manipulate the variable axes. It's important to recognize that certain font managers, including Adobe’s Creative Cloud, Monotype Fonts, and FontStand, are tailored to manage only the fonts available through their specific platforms, rather than overseeing all fonts installed on your computer.
Best practices for font management
If you maintain any kind of font collection, whether it includes variable or static fonts, a font manager is highly recommended. The ability to activate and deactivate fonts streamlines your font selection process by filtering out irrelevant options and also aids in resolving any conflicts or issues within your font files.
It's best practice to designate a specific location for your entire font library instead of just importing fonts directly into your font manager. Knowing the precise location of all your non-system fonts in a single place significantly simplifies troubleshooting. Furthermore, if this location is a shared or synced folder, it acts as a backup and ensures consistency across multiple devices. Just remember to verify that your font licenses permit activation on more than one machine.


